Lately I’ve been experimenting with CoreOS, a Linux distribution that enforces containerization (I made some experiments with Docker and I’d say that this area is fun!). CoreOS layer of containerization was based Docker, but now that they moved to Rocket. Not only Rocket, though: CoreOS brings some curious innovations to lightweight Linux distributions like clusterization with fleet and service discovery with etcd.
Since I had to do some tweaks to run CoreOS in a virtual machine (VMware Fusion on OSX is the Type 2 hypervisor I used), I decided to write this post to better illustrate how should you customize CoreOS for the first run.
First of all, download CoreOS! After importing it in VMware, the tricky part comes in. CoreOS is heavily focused on automation, so you have either two choices to login into your newly created CoreOS machine:
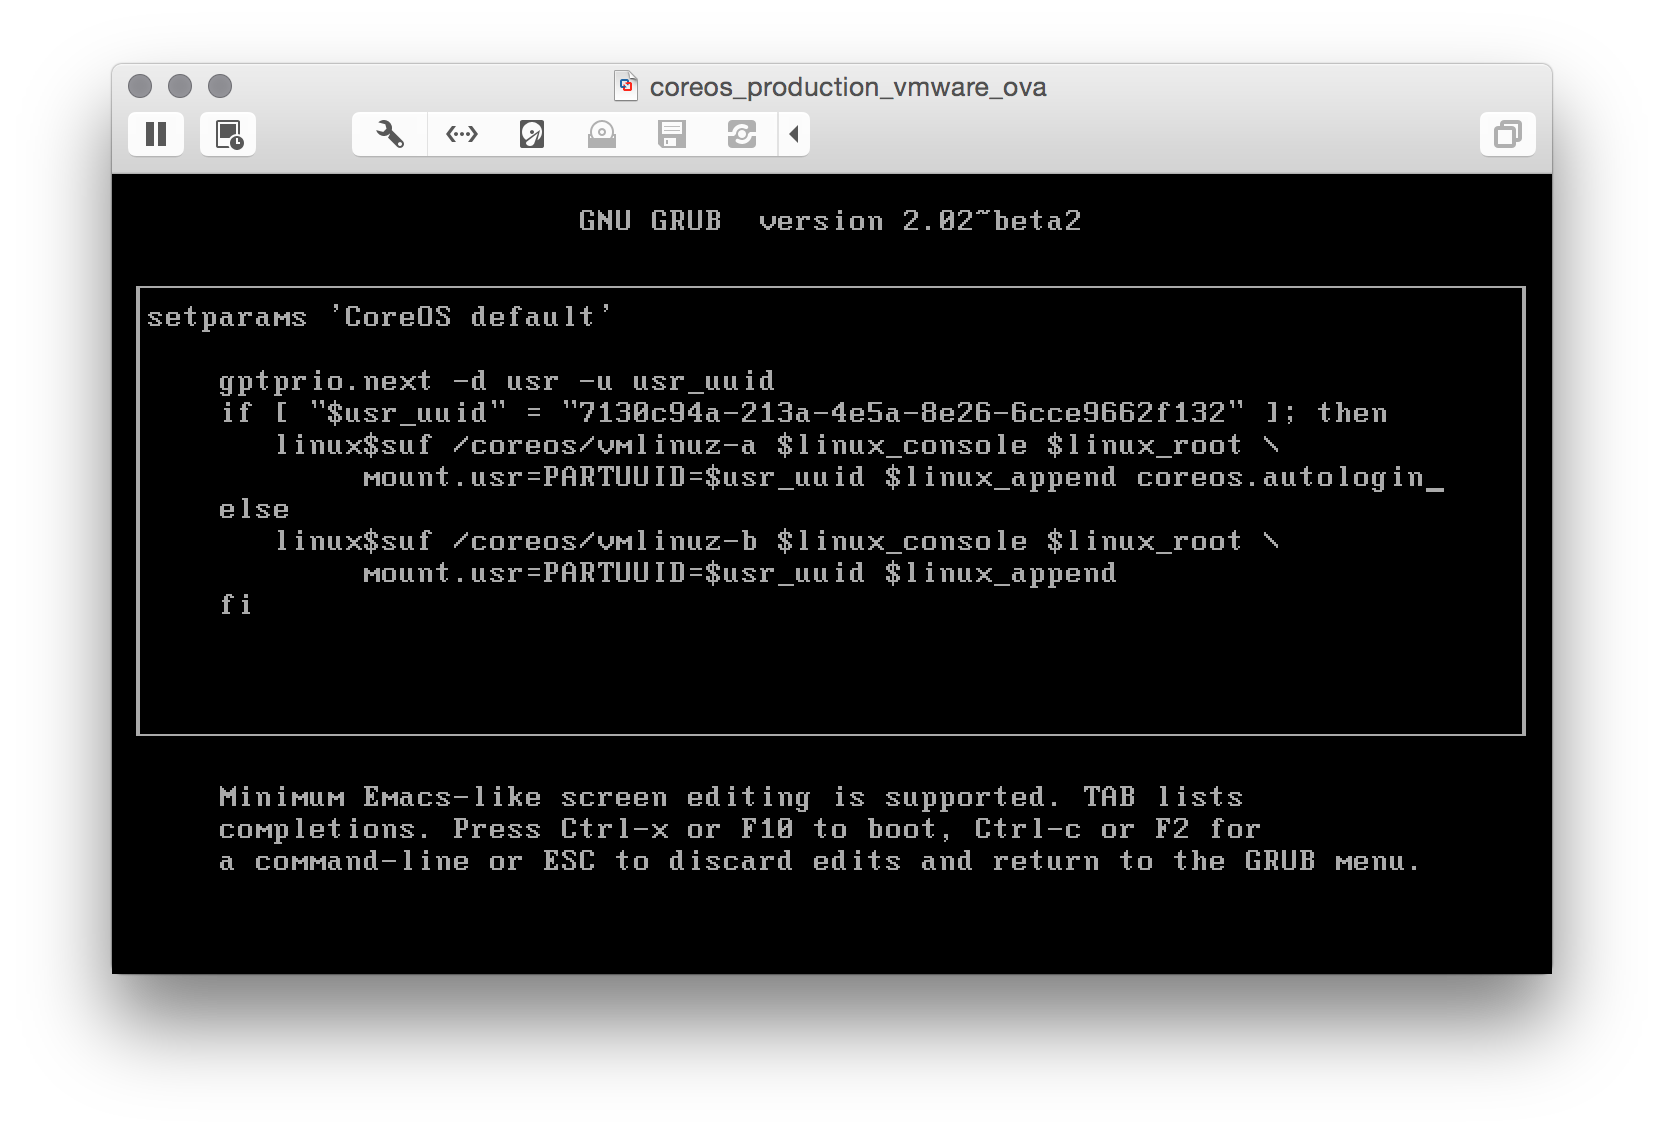
- boot CoreOS kernel with
coreos.autologinparameter active (debug) - prepare a
cloud-initpackage that contains your customization. In this case, your ssh pubkey fingerprint. (preferred)
Let’s see both ways.
Boot CoreOS with coreos.autologin
When you see the GRUB menu, edit the current entry and add coreos.autologin
and you are good to go.
Note: that with this method only interactive local logins are allowed.
Prepare a cloud-init package
This one seems difficult, but it’s not! First of all: cloud-init is a set of scripts that customize a Linux distribution during boot: you can add users, groups, packages and execute commands before the Linux box comes up. CoreOS ships with cloud-init by default, so we only have to:
- Write a simple config file (
cloud-config) - Package the config into a
config-drive(basically, an .iso file) - Mount that iso as a drive for our virtual machine and reboot CoreOS to make your customizations effective
Write a simple config file
In our config we will:
- Add our ssh pubkey (be sure to have one, or generate it right now)
- Set the hostname (who wants a generic hostname anyway?)
The cloud-config is straightforward: a YAML file where only the first line is equal for everyone:
# cloud-config
ssh_authorized_keys:
    - "ssh-rsa ... michele@fortknox"
hostname: "coreos-test"
Remember to customize it with your pubkey fingerprint and the hostname you want and save it as user_data.
Package cloud-config into a config-drive
Now that we have a cloud-config file, we have to package it as a config-drive and make it available as a drive for CoreOS. Since I needed to repeat this process a couple of times, I decided to automate it and I wrote a simple script: configdrive_creator. Be sure to read the instruction: you prepare the config, put it in the same directory of the script, launch the script and the iso is created.
Mount the iso file as a drive for CoreOS
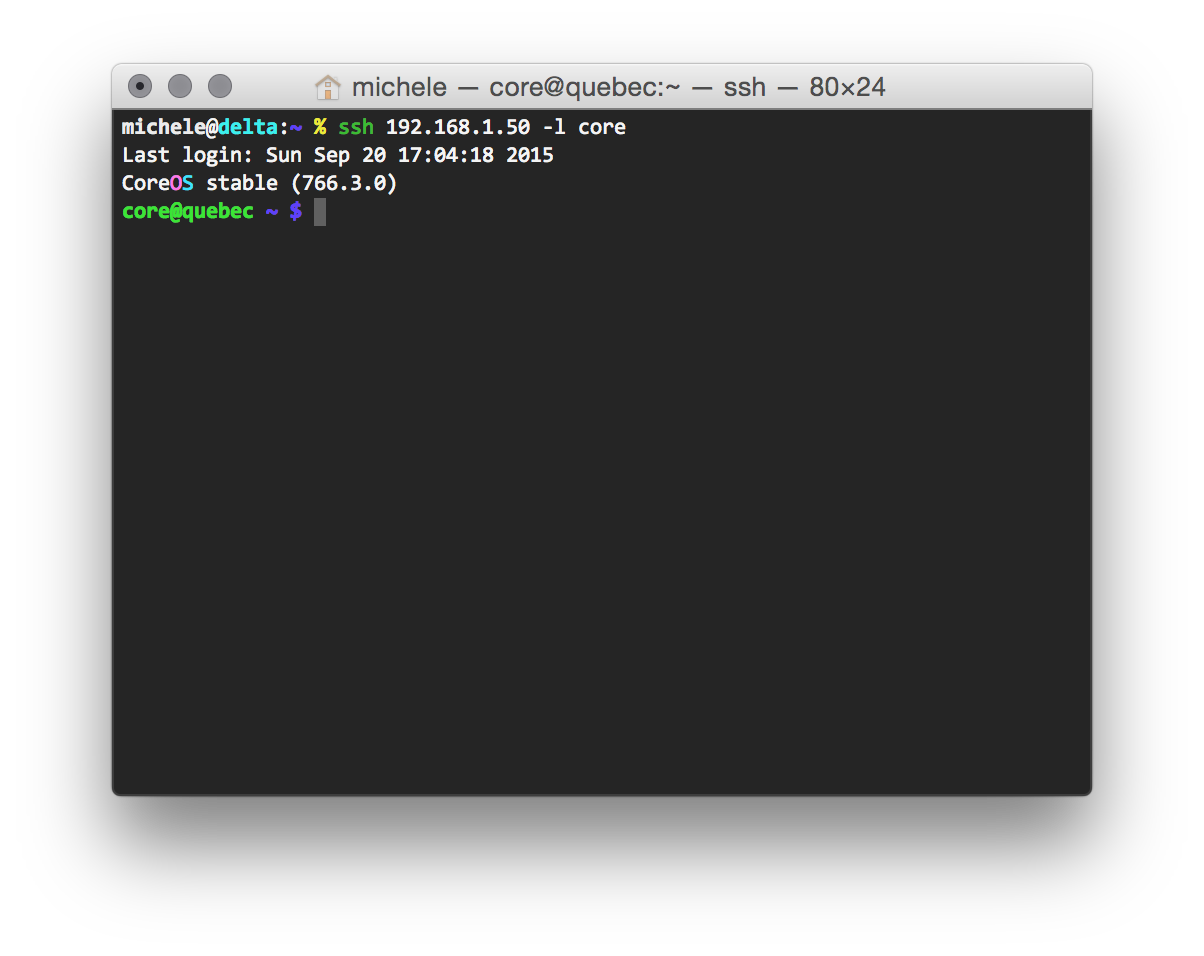
I am sure you are aware to do it on your own! After rebooting your CoreOS VM, you can finally ssh into it:
Happy hacking!

